Turn shapes into drawings!
When restoring a product for which drawings have been lost or wishing to domestically produce an overseas product, we can measure the actual product and create a drawing to make it possible to manufacture the product. In addition to converting into 3D data using a 3D scanner, we can also perform precise measurements using coordinate measuring instruments and create drawings that take into account usage conditions. We can also help you with measurements.
What is the reverse engineernig?
Reverse engineering is the process of reconstructing an existing object into a form that can be manufactured industrially.
Our company also supports converting three-dimensional objects into three-dimensional (3D) data (point cloud data, surface data, solid data) and producing three-dimensional objects using that data.
Options for producing three-dimensional objects include so-called rapid prototyping, including 3D printers, and cutting.
General method
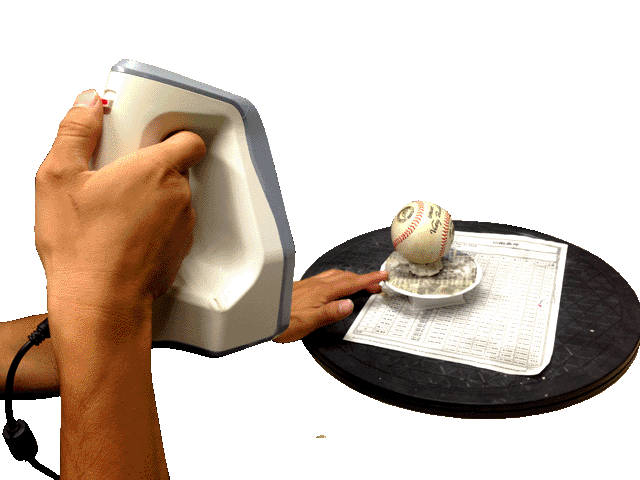
A common method of reverse engineering involves 3D measurements and 3D modeling using a 3D scanner and reverse engineering software. It is also used in situations where important cultural properties such as Buddhist statues are scanned and converted into data. We use the 3D scanner "Artec Spider" and the reverse engineering software "Design X".
Original method
Reproducible reverse engineering
Although quantification using a 3D scanner is suitable for accurately measuring the object, it is not possible to reproduce the object using only the numerical values.
Our strength lies in the reverse engineering method, which enables us to recreate the object and derive the necessary numerical values, rather than simply converting the object into data as it is.
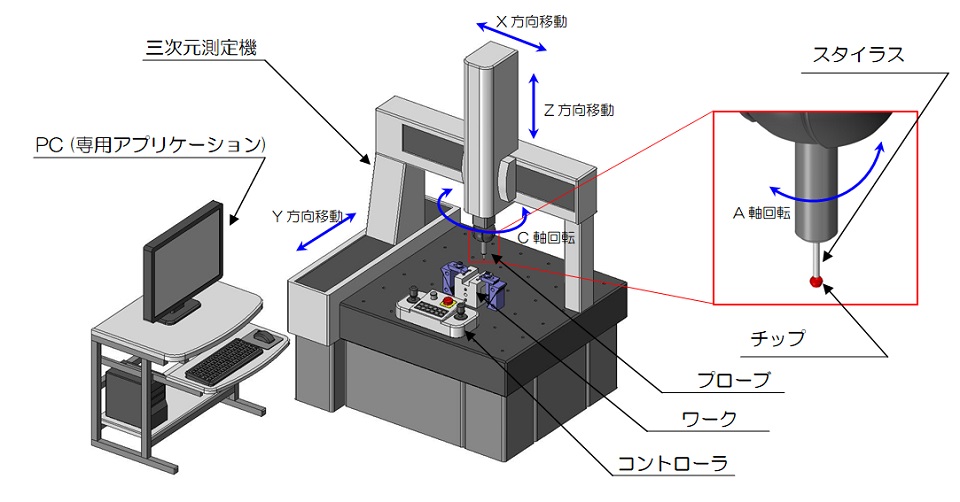
This requires the sensibilities of an engineer, and instead of using 3D scanners, we use measurement equipment such as 3D measuring instruments, calipers, and micrometers.
Deduces tolerance settings in addition to true values from dimension measurements. Once digitized and drawn, it can be used as is for actual prototyping and mass production.
Such reverse engineering requires detailed design knowledge and a thorough understanding of the intended use. By combining mechanical design knowledge and measurement technology, we are able to meet the reverse engineering requests of a variety of customers.
[Output] 3D data, 2D CAD data (drawings), three-dimensional objects (resin, metal)
<Related technology>
3D scanning
3D scanning is a technology that scans actual objects (three-dimensional objects) and generates 3D model data.
Even in our reverse engineering, we use 3D scanners for parts that consist of curved surfaces.
Precision measurement by coordinate measuring machine
In the manufacturing process of precision mechanical parts that are handled on a daily basis, precision inspection of three-dimensional measuring machines is essential.
This measurement technology is also used for reverse engineering precision parts.
Please request us to use a coordinate measuring machine to perform precise measurements that are not possible with ordinary reverse engineering companies.
